This weekend I got my arts and crafts vibe on and finally made the DIY photo frame that I’ve been meaning to for ages.
Since moving house we have more photo frames than we do wall space. I’ve always wanted to create my own collage of photos as I love being able to relive special moments with a quick glance at a picture. We still have a whole box packed with photo albums, frames and special memorabilia items that I’ve collected. On Saturday, I dove in and rescued all my favourites.

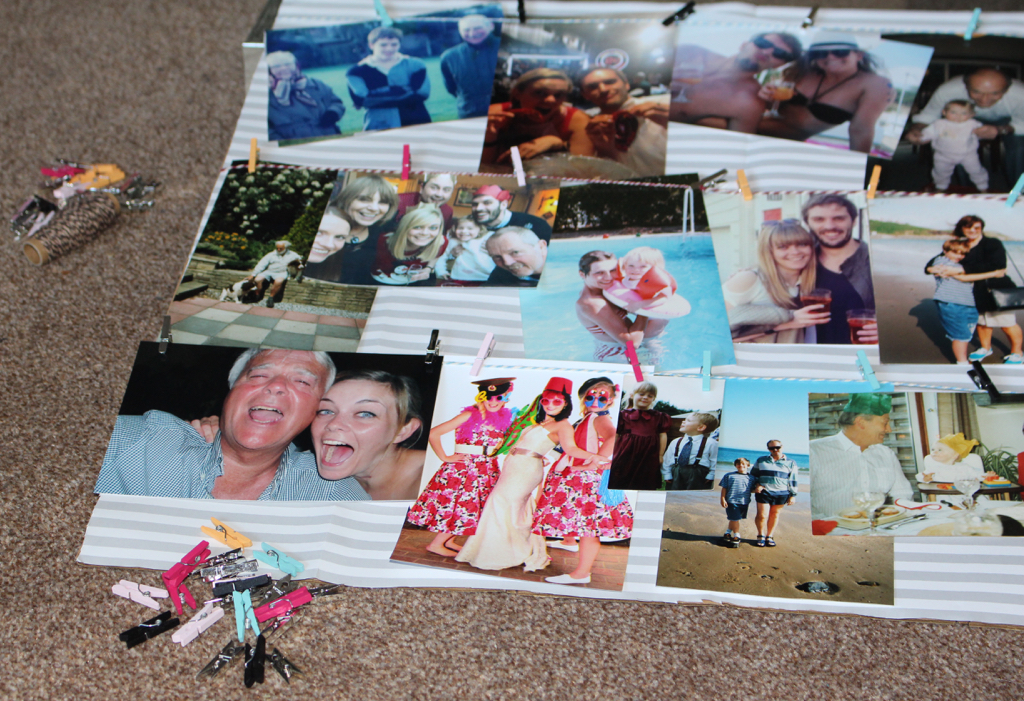
I’ve had my eye on a square silver frame we had hanging in our spare bedroom for a while and saw this as the perfect opportunity to put it to good use. I started by dismantling it and covering the cardboard lining in a striped white and grey wrapping paper I had leftover. I then used a mix of coloured string to make three equally spaced lines and tapped the ends with sellotape.
For this frame I wanted to make it family oriented so picked photos from both mine and Al’s childhoods that resonated with us. Both our grandparents feature, as do our mums, dads, brothers, my first family Christmas with Al’s family, my cousin’s wedding, and a couple of us on various holidays. I laid out where I wanted the pictures to go and then clipped them to the string with tiny, colourful pegs from Hobbycraft.

I added a touch of Blutac to some of the photos that had a life of their own, secured it in the frame, et voila, my first of many DIY photo frames is complete. This now hangs happily in our spare room where I can reminisce every morning as I get ready for the day ahead.

I now have my eye on a huge frame that we’re yet to do anything with. I just need to print some more pictures…